Removal Procedure
- Disconnect the negative battery cable. Refer to
Caution: Unless directed otherwise, the ignition and start switch must be in the OFF or LOCK position, and all electrical loads must be OFF before servicing
any electrical component. Disconnect the negative battery cable to prevent an electrical spark should a tool or equipment come in contact with an exposed electrical terminal. Failure to follow these precautions may result in personal injury and/or damage to
the vehicle or its components.
.
- Remove the air cleaner resonator bracket nuts.
- Remove the air cleaner resonator. Complete the following steps:
| 3.2. | Slide the resonator off the stud. |
- Remove the air intake duct.
- Remove the radiator fan upper shroud, if equipped with a mechanical
fan. Refer to Radiator Fan Upper and Lower Shrouds in Cooling and Radiator.
- Remove the windshield wiper motor electrical connector.
- Raise the vehicle.
- Suitably support the vehicle. Refer to General Vehicle Lifting
and Jacking in General Information.
- Drain the engine oil. Refer to Draining and Refilling Cooling
System in Engine Cooling.
- Remove the oil level sensor connector.
- Remove the oil level sensor.
- Remove the warm up three-way catalytic converter from the exhaust
manifolds. Refer to Warmup Three Way Catalytic Converter in Exhaust System.
- Remove the catalytic converter support-to-transmission bolts and
washers.
- Remove the engine oil filter adapter. Refer to
Oil Filter Adapter Replacement
.
- Remove the transmission fluid cooler lines from the clip at the
oil pan.
- Remove the starter motor. Refer to Starter Motor Replacement in
Cranking System.
- Remove the converter cover bolts.
- Remove the converter cover.
- Rotate the crankshaft until the arrow on the crankshaft balancer
is pointing straight down (six o'clock position).

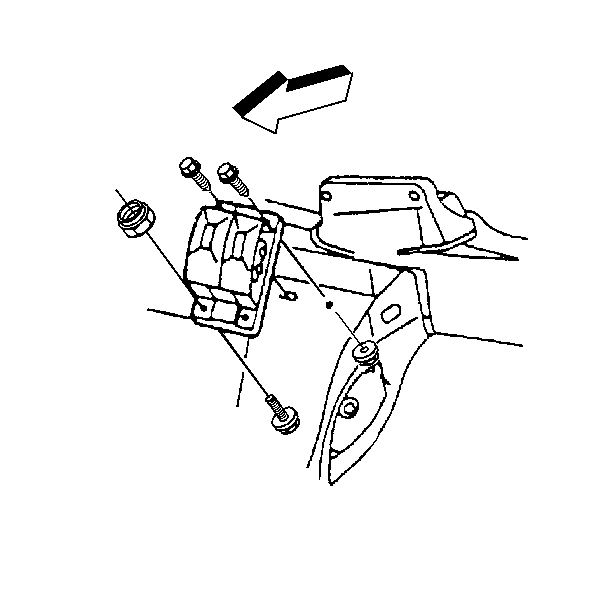
- Remove the engine mount through bolts and nuts.
- Raise the engine with a jacking fixture.

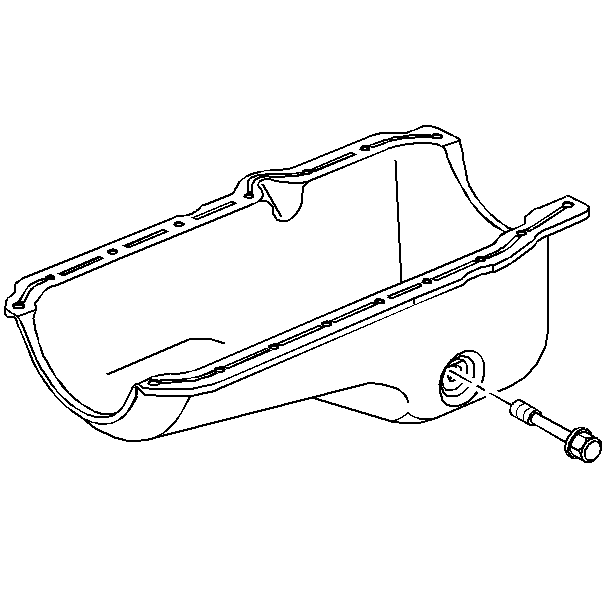
- Remove the oil pan bolts, the studs and the nuts.
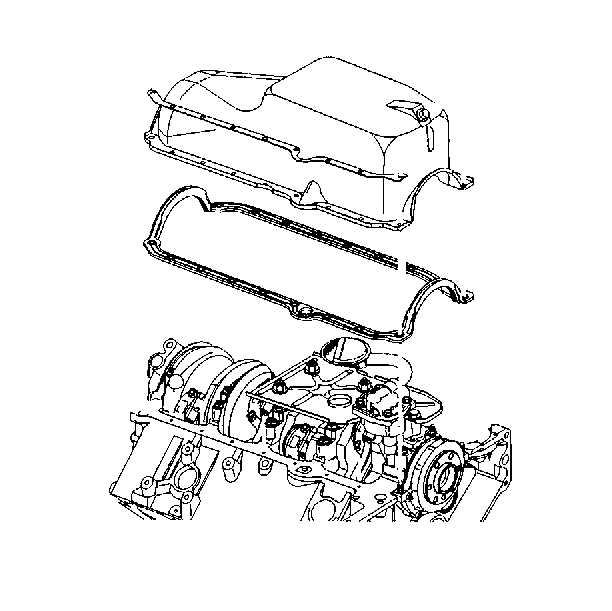
- Remove the oil pan, the oil pan reinforcements and the oil pan
gasket.
- Clean the oil pan and the engine block gasket surfaces.
- Apply a small amount of sealer, GM P/N 12346004
or equivalent, to the following items:
| • | Front cover and the engine block junction |
| • | Rear oil seal housing and the engine block junction |
- Apply sealer 25 mm (1 inch) in either direction
of the radius cavity of these junctions.
Installation Procedure
Tools Required
J 36660-A Torque Angle
Meter

- Install the following parts:
| • | The oil pan reinforcements |
- Install the oil pan nuts, the bolts, and the studs.
Tighten
| • | Tighten the corner oil pan bolts or the stud, and the nuts to
20 N·m (15 lb ft). |
| • | Tighten the remainder of the oil pan bolts and studs to 12 N·m
(106 lb in). |
- Lower the engine.

- Install the engine mount through bolts and the nuts.
Tighten
| • | Tighten the engine mount through bolts to 120 N·m
(89 lb ft). |
| • | Tighten the nuts to 80 N·m (59 lb ft). |

- Install the oil level sensor.
Tighten
Tighten the oil level sensor to 35 N·m (26 lb ft).
- Install the converter cover.
- Install the converter cover bolts.
- Install the starter motor. Refer to Starter Motor Replacement
in Cranking System.
- Install the transmission fluid cooler lines to the clip at the
oil pan.
- Install the engine oil filter adapter. Refer to
Oil Filter Adapter Replacement
.
- Install the catalytic converter support-to-transmission bolts
and washers.
Tighten
Tighten the bolts to 34 N·m (26 lb ft). Use
the J 36660-A
in order to
tighten the bolts an additional 55 degrees.
- Install the warm up three-way catalytic converters to the exhaust
manifolds. Refer to Warmup Three Way Catalytic Converter in Exhaust System.
- Install the oil level sensor electrical connector.
- Lower the vehicle.
- Install the windshield wiper motor electrical connector.
- Install the radiator fan upper shroud, if removed. Refer to Radiator
Fan Upper and Lower Shrouds in Cooling and Radiator.
- Install the air intake duct.
- Install the air cleaner resonator. Complete the following steps:
| 18.1. | Slide the resonator onto the studs. |
| 18.2. | Tighten the clamp snugly. |
- Install the air cleaner resonator bracket nuts.
Tighten
Tighten the nuts to 10 N·m (89 lb in).
- Connect the negative battery cable.
- Refill the engine with oil.
- Refill the coolant. Refer to Draining and Refilling Cooling System
in Cooling and Radiator.
- If the engine oil was also replaced, reset the engine oil life
monitor whether the lamp came on or not. Refer to Maintenence and Lubrication.


