Installation Procedure
Tools Required
J 36660-A Torque/Angle Meter
- Clean the gasket surfaces on the block.
- Clean the gasket surfaces on the cylinder head.
- Place the gasket in position over the cylinder head dowel pins.
- Install the cylinder head to the block.
- Coat the threads of the cylinder head bolts with sealing compound GM P/N 12346004 or equivalent.
- Install the cylinder head bolts.
- Use the J 36660-A in order to tighten the cylinder head bolts in sequence, on the second pass.
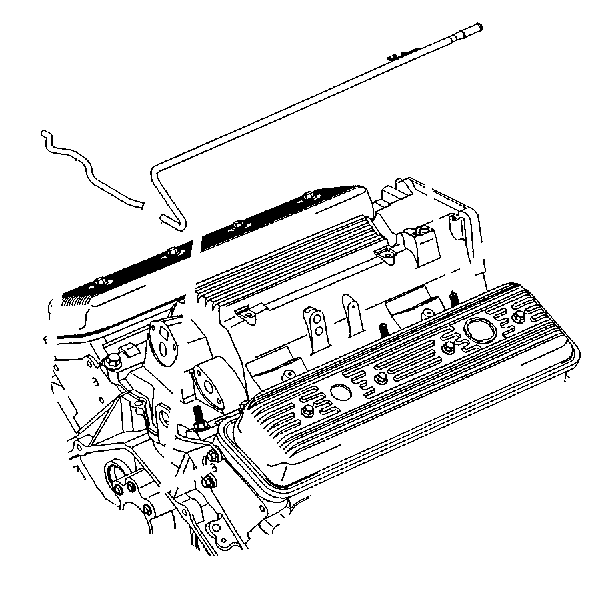
- Install the engine coolant air bleed pipe and bolts. Use a backup wrench on the pipe fittings when you install the bolts.
Important: Do not use sealer on any engines that use a composition gasket.
Align the gasket locating mark to face up.

Guide the cylinder head carefully into place over the dowel pins and the head gasket.

Tighten
Tighten the bolts in sequence on the first pass to 30 N·m
(22 lb ft). Refer to
Notice: Use the correct fastener in the correct location. Replacement fasteners must be the correct part number for that application. Fasteners requiring replacement or fasteners requiring the use of thread locking compound or sealant are identified in the service procedure. Do not use paints, lubricants, or corrosion inhibitors on fasteners or fastener joint surfaces unless specified. These coatings affect fastener torque and joint clamping force and may damage the fastener. Use the correct tightening sequence and specifications when installing fasteners in order to avoid damage to parts and systems.
in General Information.Tighten
| • | Tighten the short bolts (3,4,7,8,11,12,15,16) 55 degrees. |
| • | Tighten the medium bolts (14, 17) 65 degrees. |
| • | Tighten the long bolts (1,2,5,6,9,10,13) 75 degrees. |

Tighten
Tighten the bleed pipe bolts to 40 N·m (30 lb ft).
